NOTE:
-
Ford Transit window covers are currently out of stock. Stock is expected to be available by 1st week of May (estimated). We're accepting Pre-orders
Bundle Includes:
- 1x Pair Front Window Covers
- 1x Pair Rear Window Covers
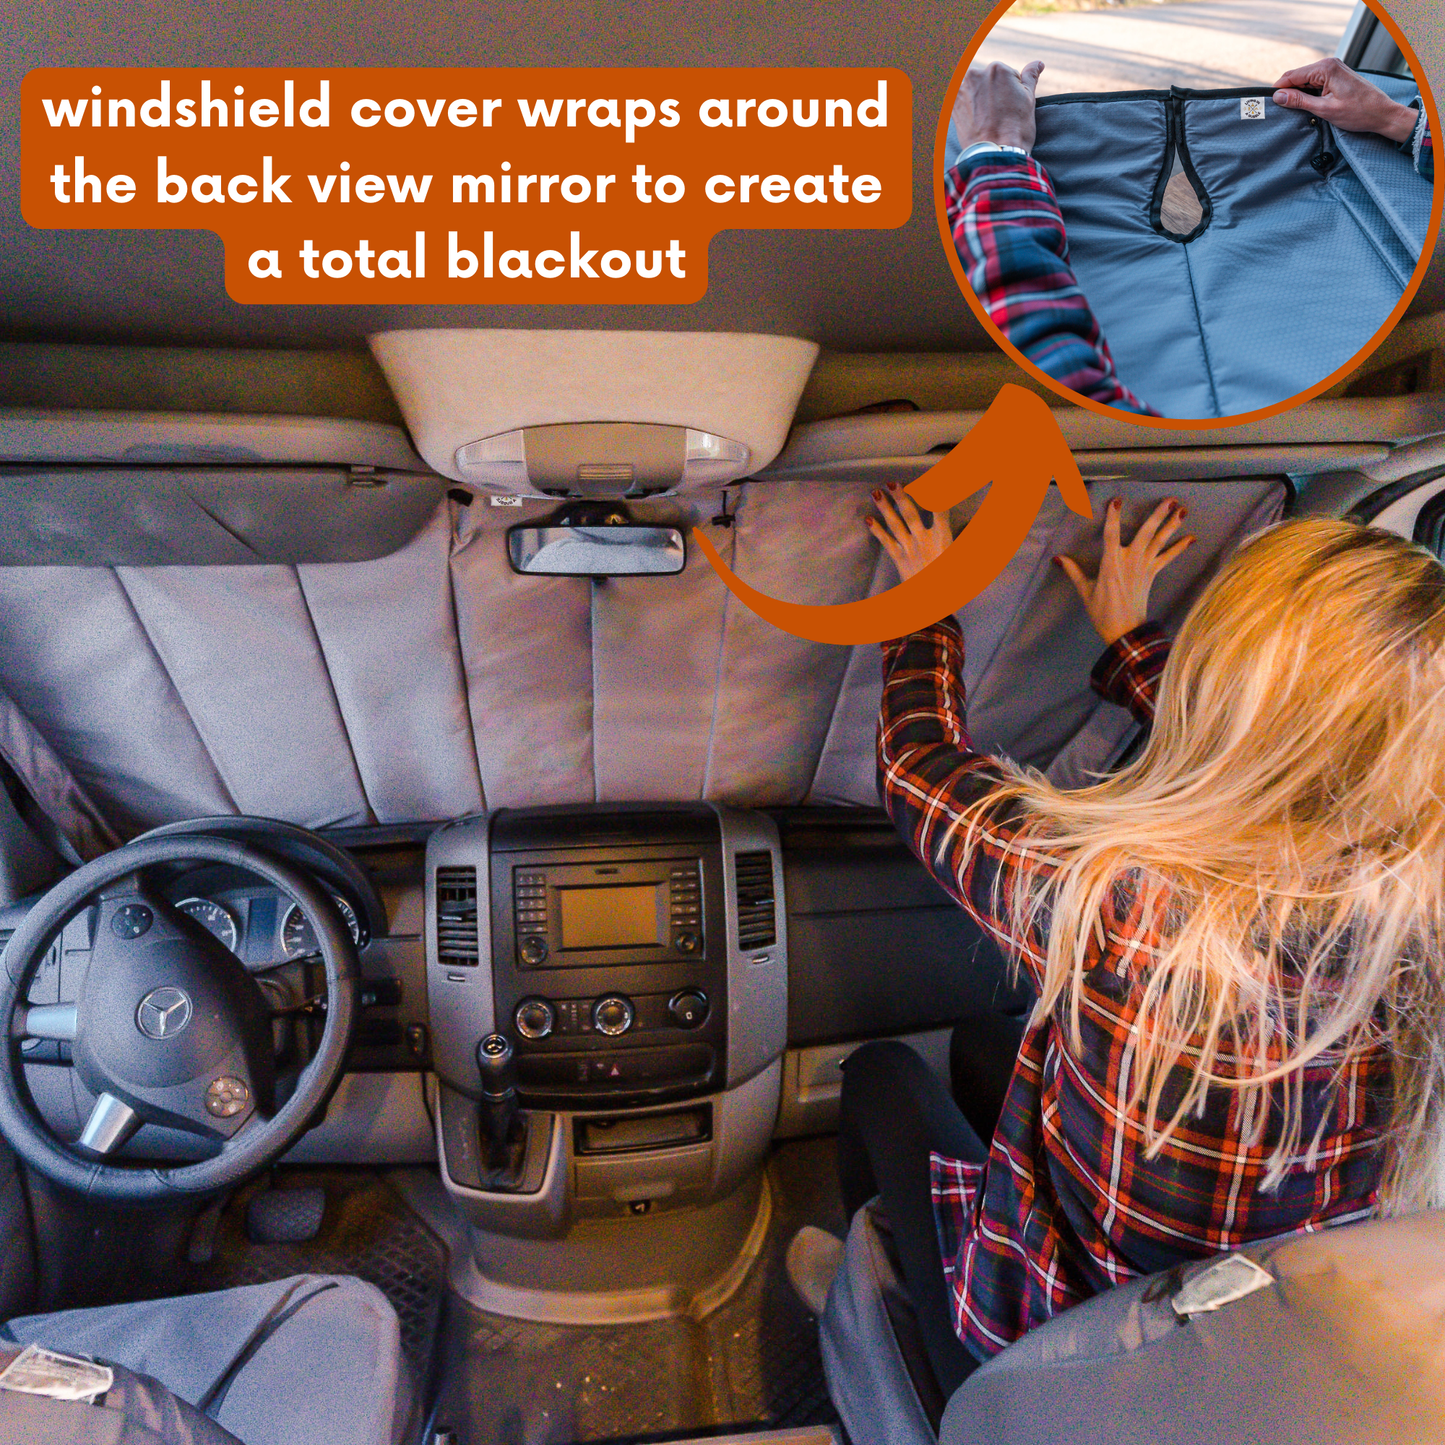
- 1x Windshield Cover
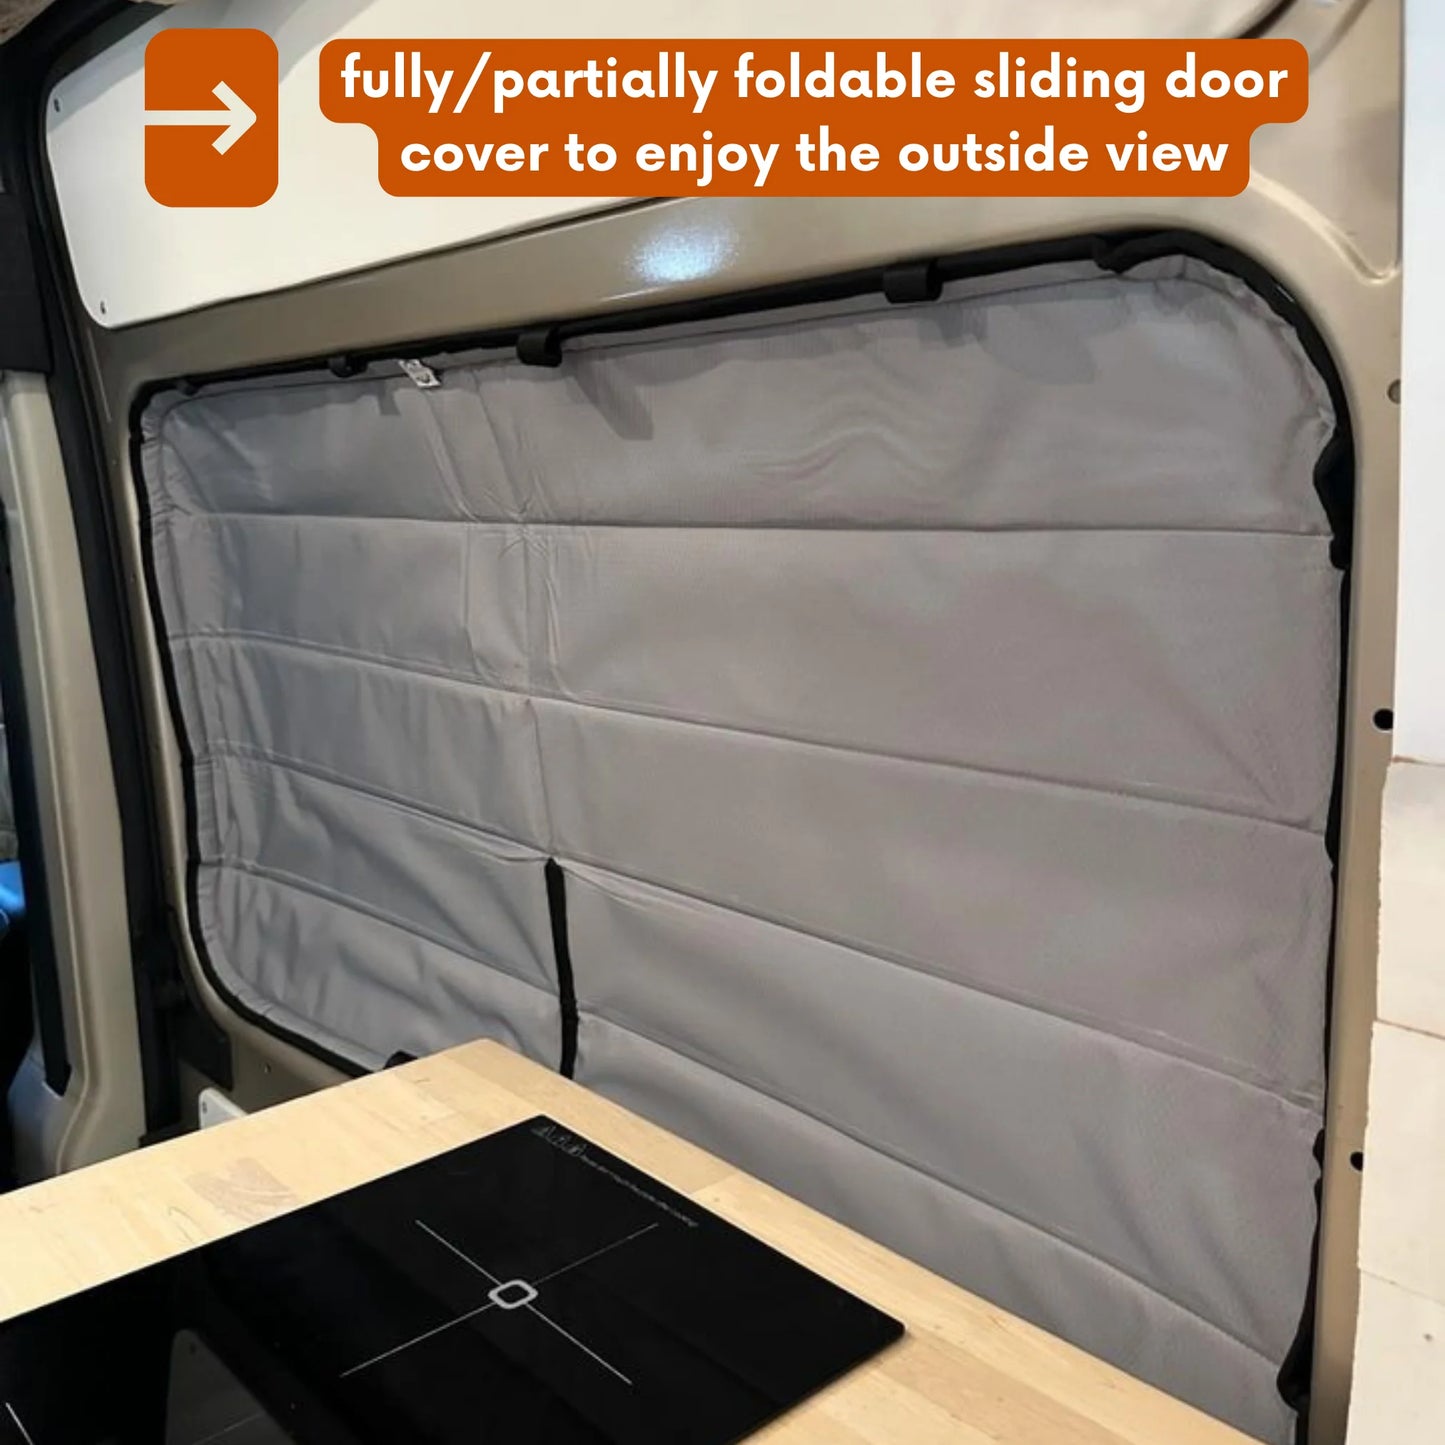
- 1x Sliding Door Cover (for the window behind the passenger seat)
Enjoy outdoor living without having to endure the heat of summer or the chill of winter inside your van. These temperature-regulating window covers will insulate your campervan in all seasons!
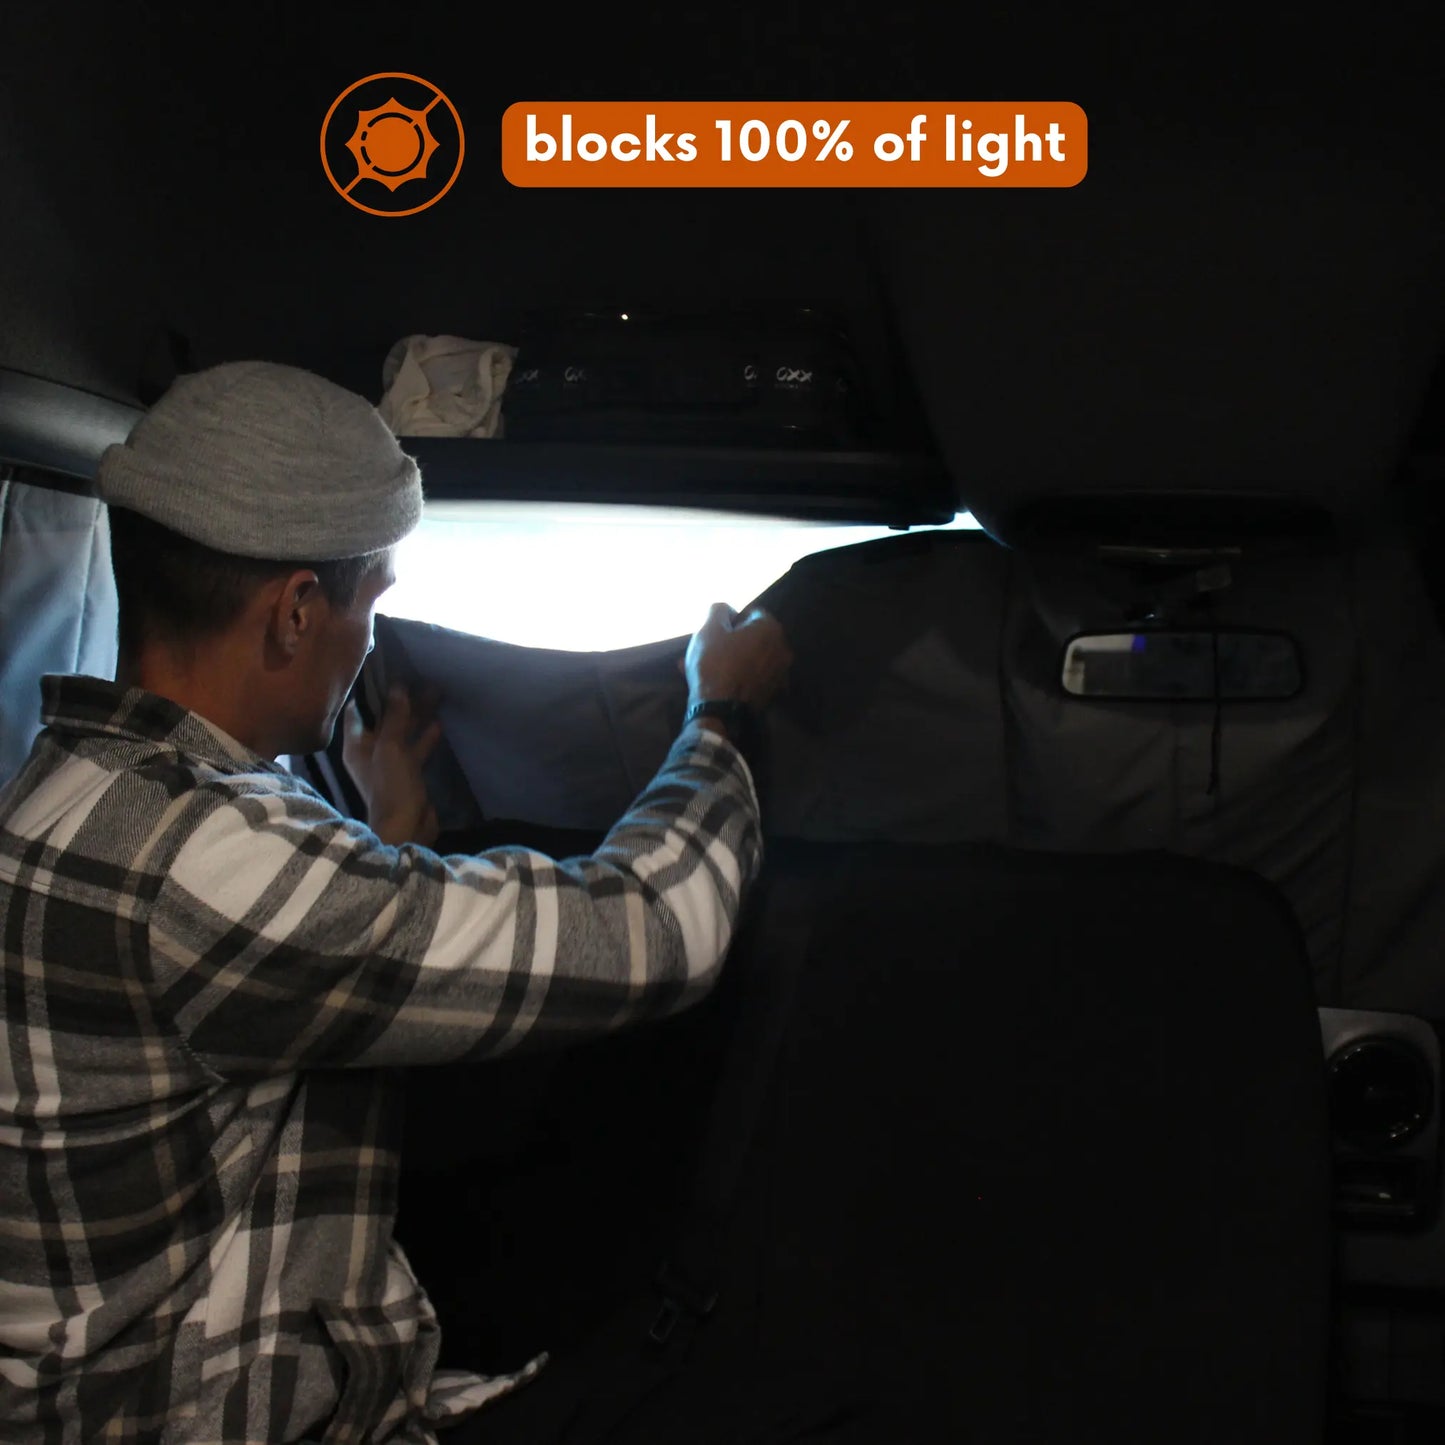
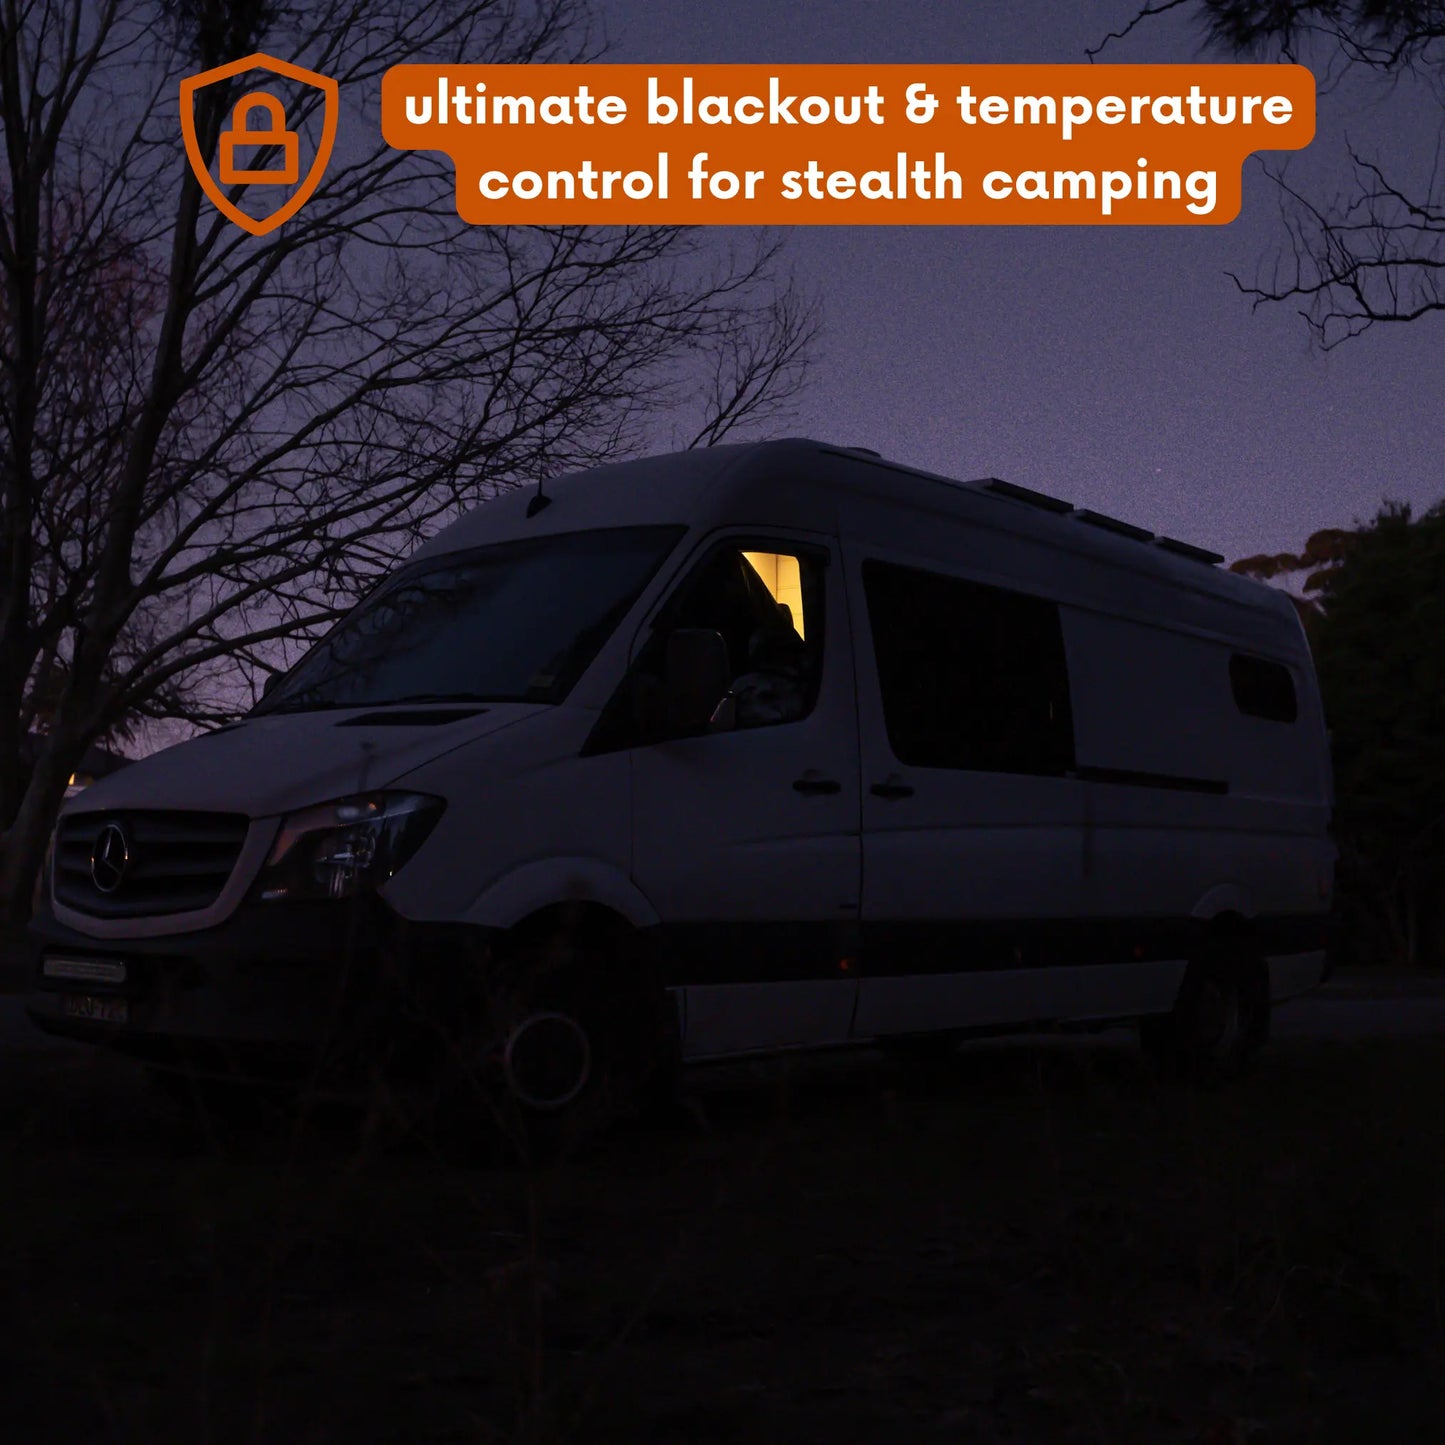
Achieve your best sleep yet with temperature-regulating, blackout window covers! This product will revolutionize your campervan sleep, ensuring a restful night and ultimate privacy. Blocking out 100% of light, these covers will keep your van pitch black and fully private.
These insulating window covers will also shield you against the cold of winter and the heat of summer. Install these covers to instantly improve the safety, privacy, and temperature regulation in your van!
They are a must-have van camping and conversion kit accessory for your next adventure!
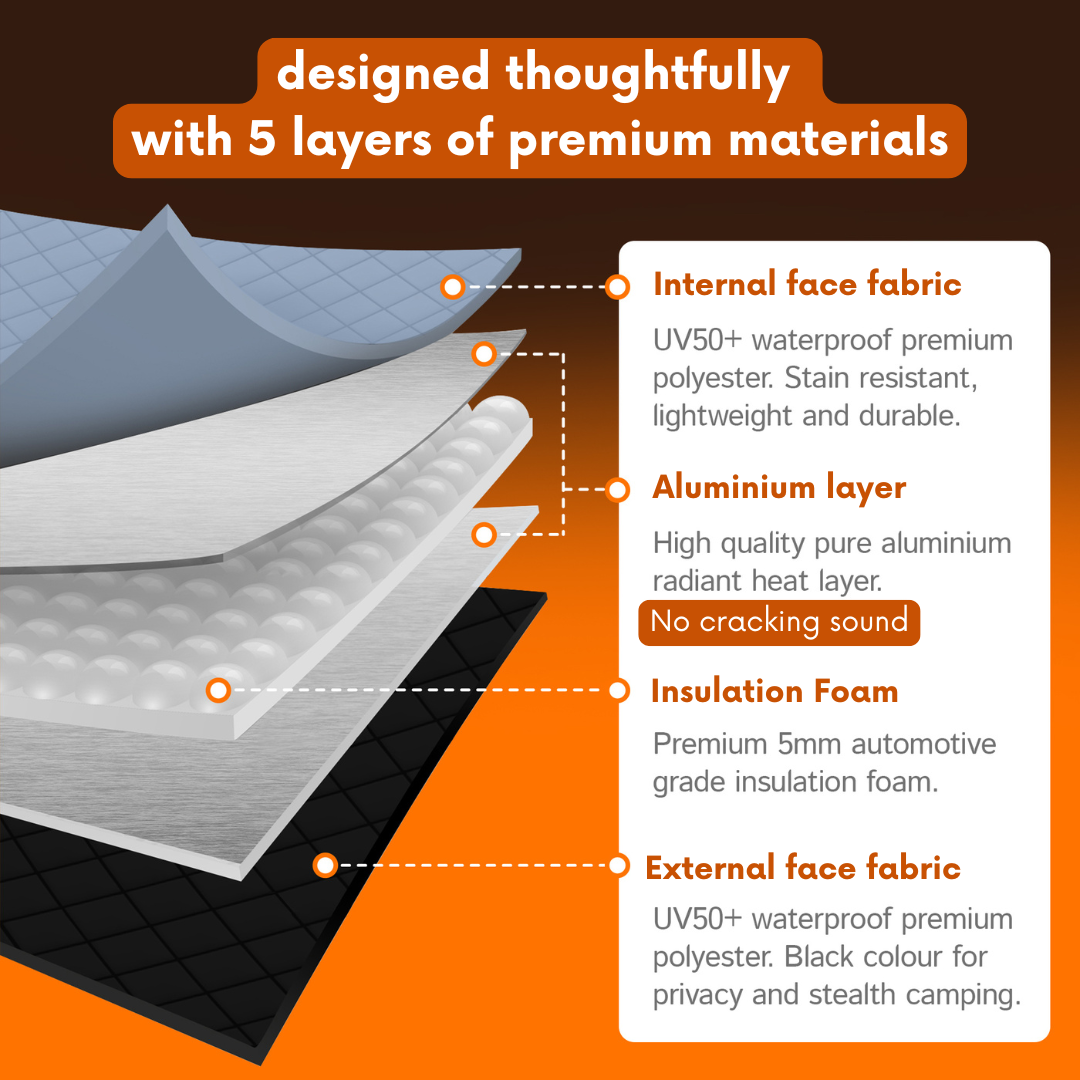
TEMPERATURE REGULATION - Crafted with UV50+ thick, premium insulation, these blackout window covers will keep your van cool in the summer and warm in the winter. These window shades will block out the elements, even in the most severe weather conditions.
COMPLETELY BLOCKS LIGHT - These blackout sprinter van covers fit snugly against your windows, blocking out 100% of light. These magnetic window shades and covers are also ideal for ensuring complete van privacy.
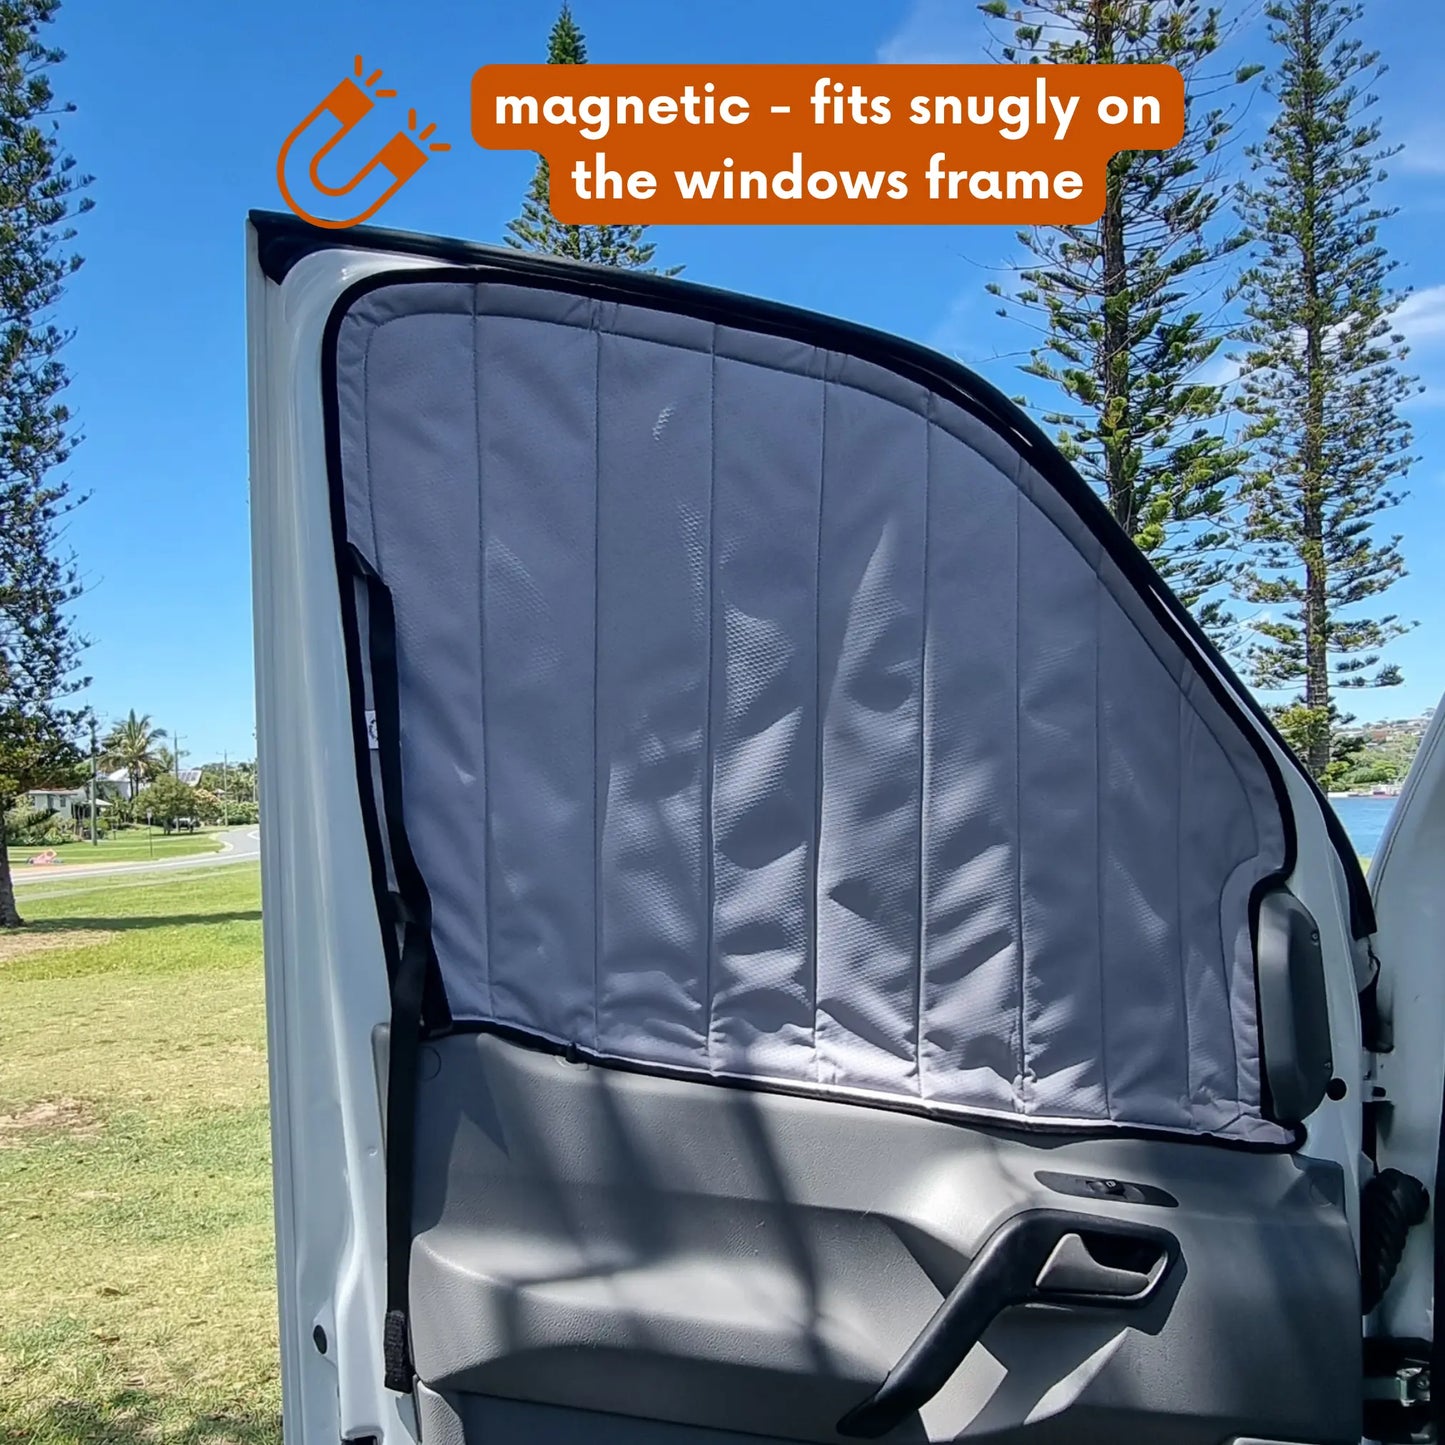
STRONG, HEAVY DUTY MAGNETS - Install and remove in just seconds. Installation is fully magnetic; no drilling or suction cups are required. To ensure the perfect fit, each magnet is strategically and carefully sewn in place. Ultra-strong and slip-resistant, these van and RV blackout window covers easily hold up to all-day adventure use.
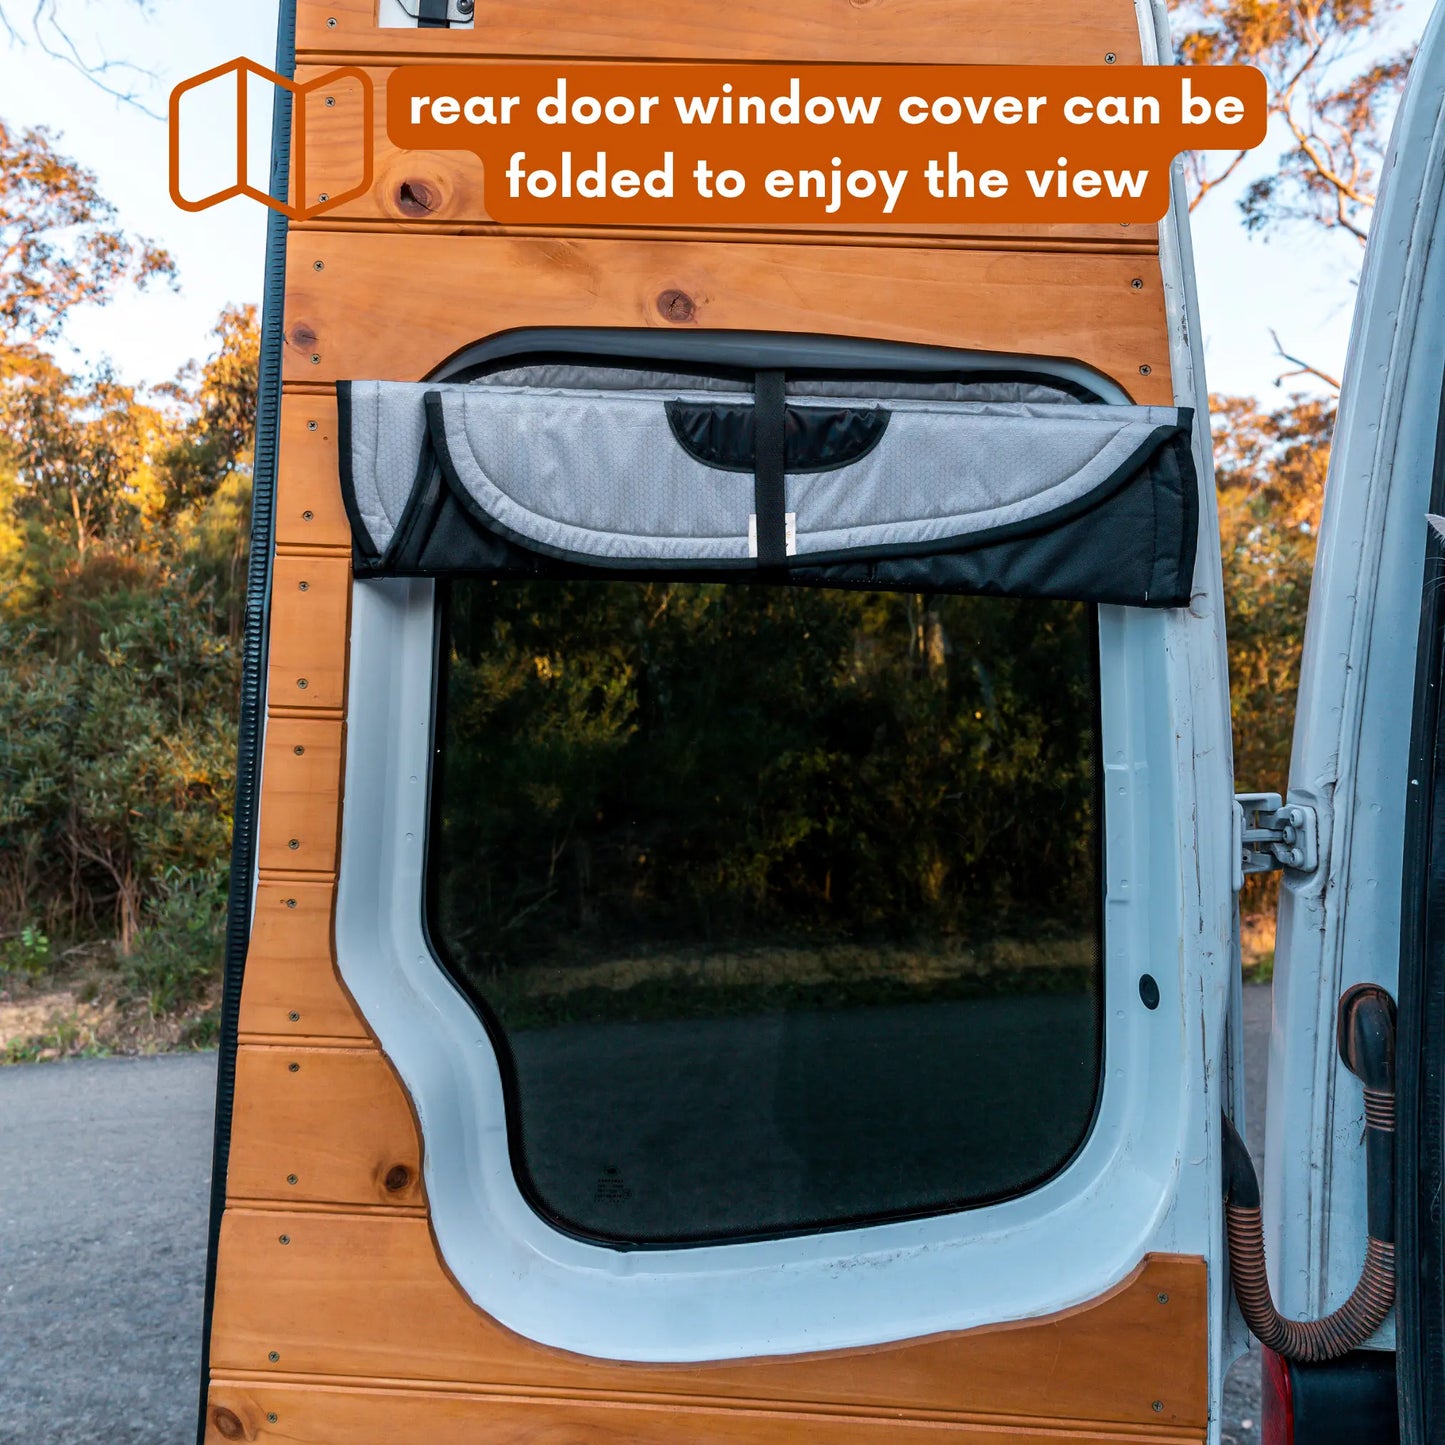
COMPACT AND FOLDABLE - When not in use, these window shades can be folded up in a compact size for storage. This is one more of essential sprinter van accessories you must have!
STEALTH CAMPING PROOF - These RV window insulation covers are also ideal to provide complete privacy. Your privacy matters to us! "
Specifications:
-Bundle Includes: 1x Pair Front Window Covers, 1x Pair Rear Window Covers, 1x Windshield Cover, & 1x Sliding Door Cover.
-Material: Made from environment-friendly recycled PET fabric with yarn extracted from recycled mineral water and Coke bottles, UV50+ ripstop polyester, double-faced aluminum crosslinked PE foam insulation and rare earth magnets.
-Color: Light Grey (internal) and Black (external)
-Compatibility:
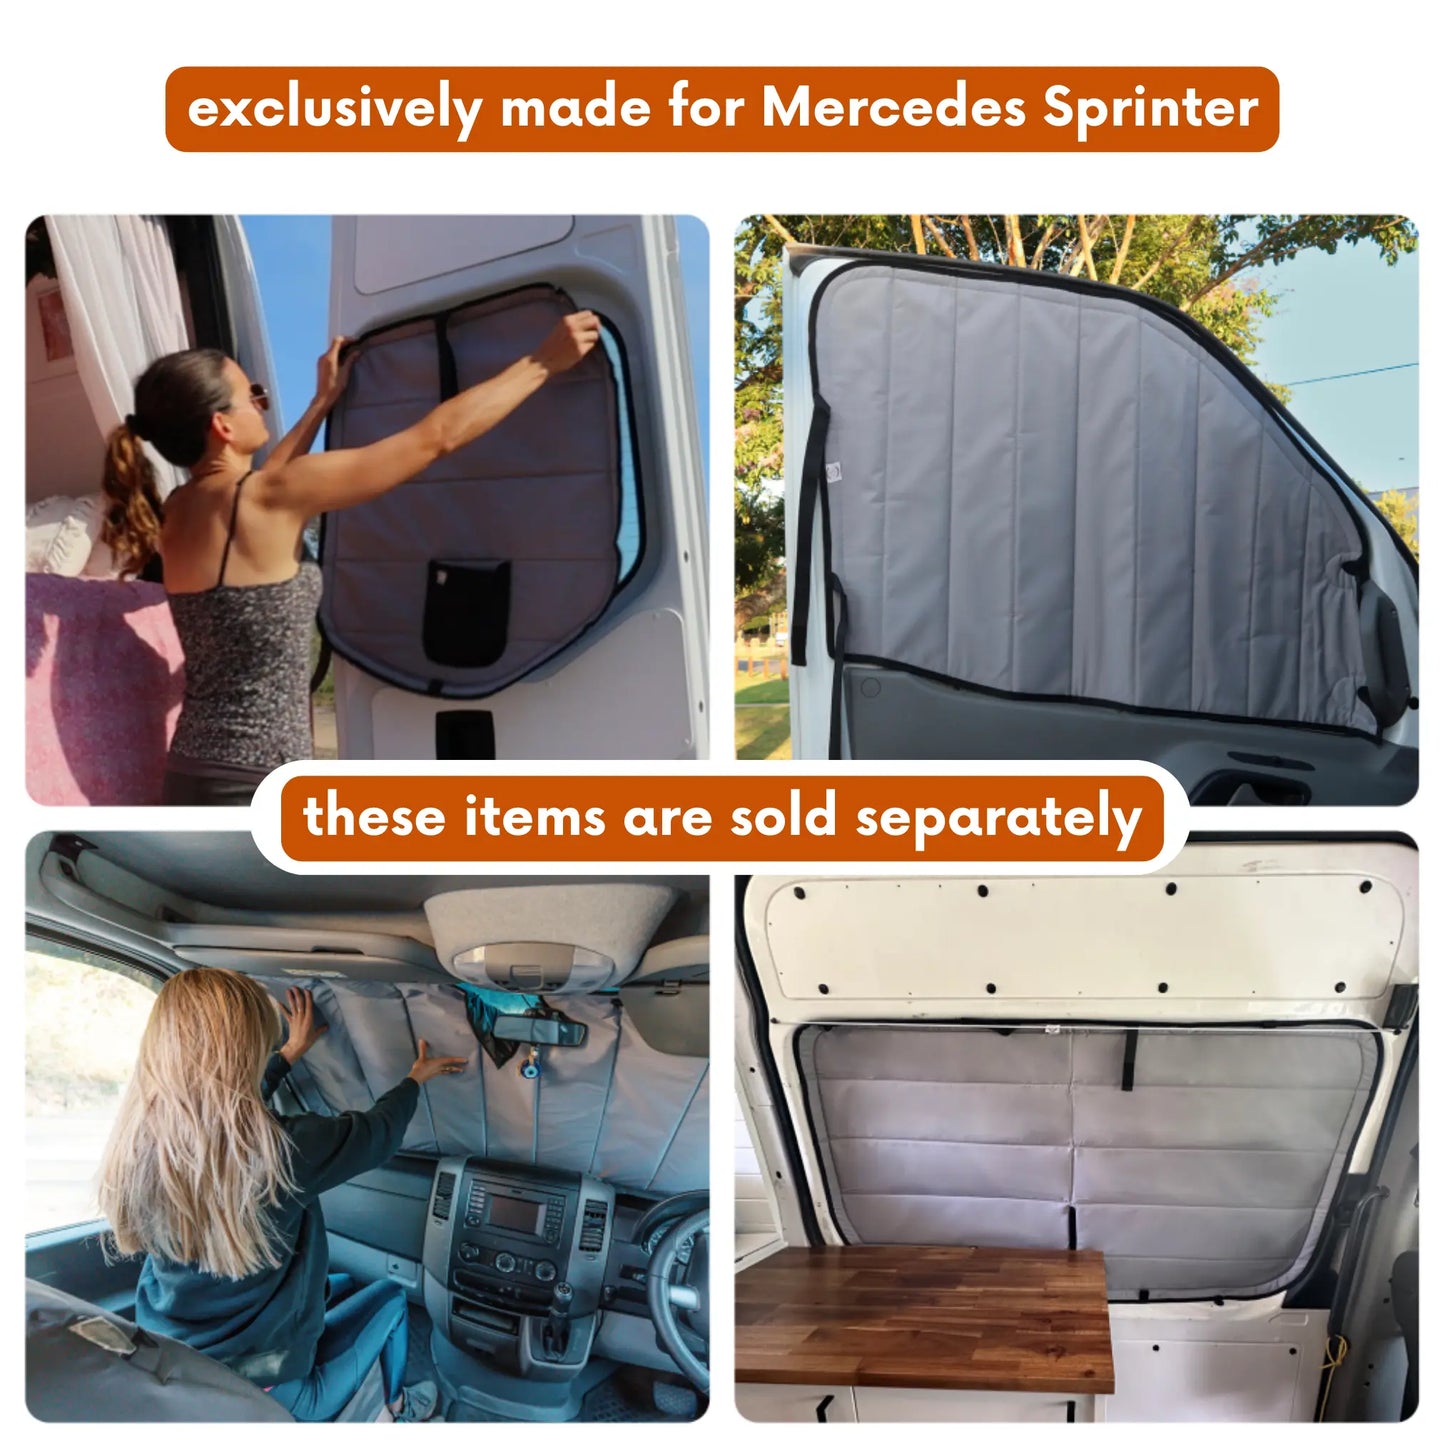
- Mercedes Sprinter 2007-2018
- Mercedes Sprinter 2019-Current
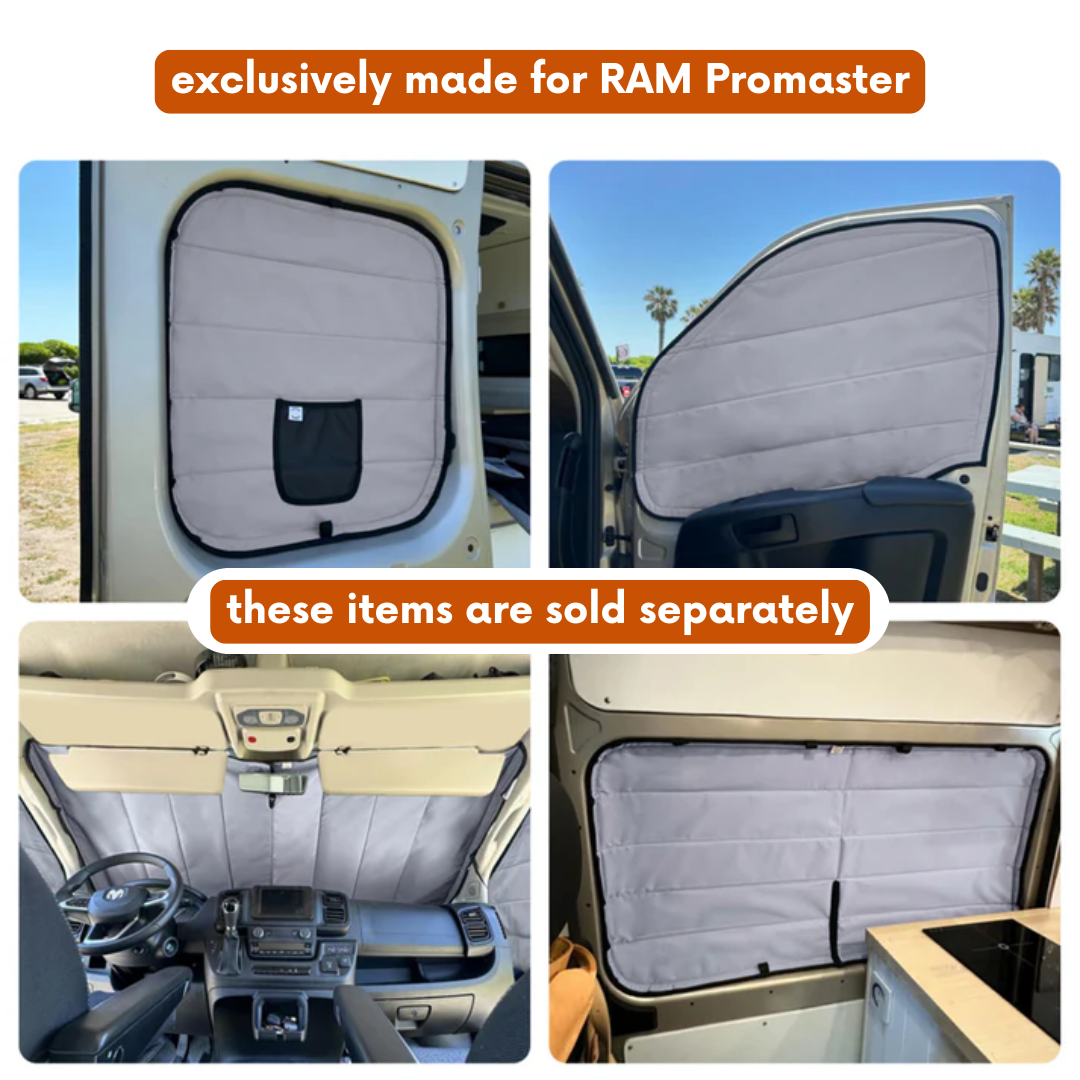
- RAM Promaster 2014-Current
Note: The sliding door cover is made to fit the window behind the passenger seat. Made to fit the original windows
- Installation Instructions:
--------------WINDSHIELD COVER--------------
1. With the black fabric facing up, fully open your Living in a Bubble windshield and place it on the dash of your van.
2. Where the window glass and dash meet, push the bottom of the windshield in to create a seal at the bottom of the window. Ensure that the blackout cover is seated correctly across the entire length of the window.
3. Vans with rearview mirror: Lift the window over up so the remaining black fabric is against the glass. Wrap it around the rearview mirror, one side at a time with the cut out. Use the magnets to seal around the mirror.
4. Vans with technology box: Using the provided hooks that go under the headliner, hook on the window cover with the pull cord locks on either side to pull the cover close to the glass.
--------------WINDOW COVERS--------------
Remove your new window cover from the packaging. With the black side against the glass, place the cover on the window (passenger and driver door windows). The magnets will easily latch to the metal sides of the window frame. Finally, ensure all edges are securely aligned on the window.
--------------SLIDING FOOR WINDOW COVER--------------
Remove your new window cover from the packaging. With the black side against the glass, place the cover on the sliding door window. The magnets will easily latch to the metal sides of the window frame. Finally, ensure all edges are securely aligned on the window.
Visit our Instruction Page.
Any questions, contact us here or email to mail@livinginabubble.co

